Are you sick of printer problems and errors? Often, a hard reset is the answer. In essence, this procedure restarts your printer, removing any transient problems and returning it to its original configuration. Here’s a quick tutorial on hard-resetting your Epson printer: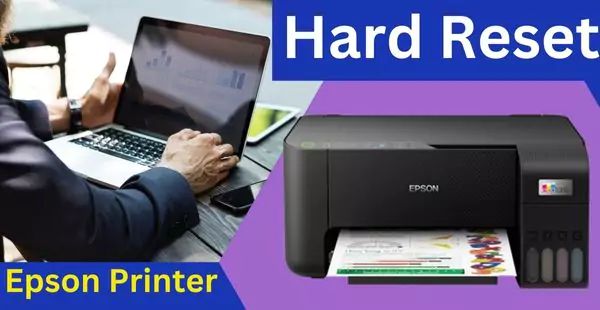
Why Hard Reset Your Epson Printer?
A hard reset can be helpful in various situations, including:
- When the printer cannot properly feed paper, it produces paper jam errors.
- Printing errors occur when the printer either fails to print at all or generates printouts of low quality.
- Connectivity problems occur when the printer has trouble connecting to your device using USB or Wi-Fi.
- Software Glitches: Unexpected problems with the printer’s software.
How to Perform a Hard Reset Epson Printer
Here is a general method, albeit the precise steps may differ slightly based on the model of your Epson printer:
- Power Off: Turn off your Epson printer completely.
- Disconnect Power: Unplug the power cord from the printer and the wall outlet.
- Wait: Allow the printer to sit unplugged for at least 30 seconds.
- Reconnect Power: Plug the power cord back into the wall outlet and then into the printer.
- Power On: Turn on your Epson printer.
Additional Tips:
- Check for Physical Obstructions: Make sure the printer is free of foreign objects and paper jams before doing a hard reset.
- Printer drivers should be updated. Update the drivers for your printer to maximize compatibility and performance.
- Refer to the User Manual: For detailed instructions unique to your printer model, consult the user manual.
You should be able to successfully hard reset your Epson printer and fix a lot of common problems by following these procedures. Try getting in touch with Epson’s customer service for more help if issues persist after a hard reset.
Thank you so much for this provision of maintenance guide !