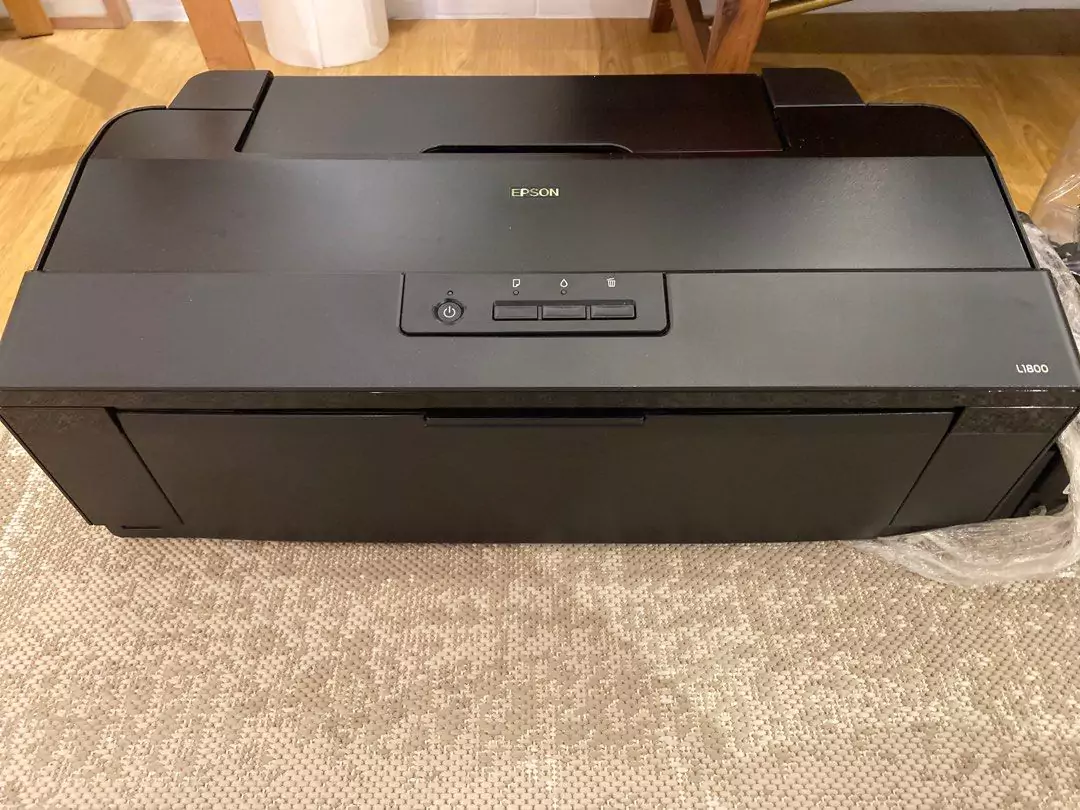
Introduction: The Epson L1800 is a high-quality ink tank system printer known for its excellent photo and document printing capabilities. Setting up this printer involves a few simple steps that can get you up and running in no time. This guide will walk you through the installation process, from unboxing to printing your first document or photo.

Unboxing and Preparing the Printer:
- Unbox the Epson L1800 printer carefully, ensuring all accessories are present, including ink bottles, power cord, USB cable, and driver CD or installation manual.
- Remove all protective tapes and packaging materials from the printer.
Installing Ink Tanks:
- Lift the top cover of the printer to access the ink tank compartment.
- Open the ink tank covers and gently shake each ink bottle before opening to ensure even ink distribution.
- Slowly open the ink bottle cap and insert the bottle’s nozzle into the corresponding color tank. Squeeze the bottle to fill the tank. Repeat this process for all ink tanks.
- Close the ink tank covers securely.
Connecting the Printer:
- Place the printer in a suitable location near a power outlet.
- Connect one end of the power cord to the printer and the other end to a power outlet. Turn on the printer.
- For a wired connection, use the USB cable provided. Connect one end to the printer and the other end to your computer’s USB port.
Installing Printer Drivers:
- Insert the driver CD into your computer’s CD drive, or download the latest drivers from the official Epson website if you don’t have a CD drive.
- Follow the on-screen instructions to install the printer drivers and software. If using the CD, the installation wizard will guide you through the process. If downloading, run the downloaded file and follow the prompts.
- During the installation, choose the connection type (USB) and follow the prompts to complete the installation.
Testing the Printer:
- Once the drivers are installed, open a document or photo you’d like to print.
- Select “Print” from the file menu and choose the Epson L1800 as the printer.
- Adjust print settings such as paper type, size, and quality as needed.
- Click “Print” to initiate the printing process.
Troubleshooting Tips:
- If the printer is not detected, ensure that the USB cable is securely connected and try using a different USB port on your computer.
- Make sure the printer is powered on and properly connected to the network or computer.
Watch a Video For Visual Support :-
Conclusion:
Setting up the Epson L1800 printer involves unboxing, installing ink tanks, connecting to power and your computer, installing drivers, and testing the printer with a document or photo. Following these steps should ensure a smooth installation process, allowing you to enjoy high-quality prints from your Epson L1800 printer. If you encounter any issues, refer to the user manual or contact Epson support for assistance.